More detail ›
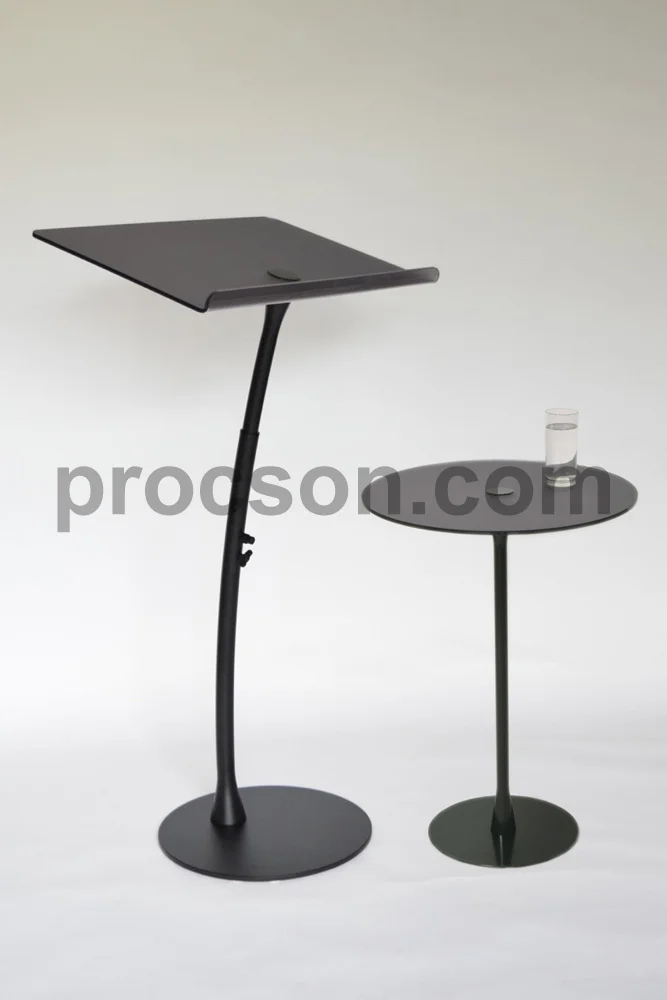
Arc2 pulpit
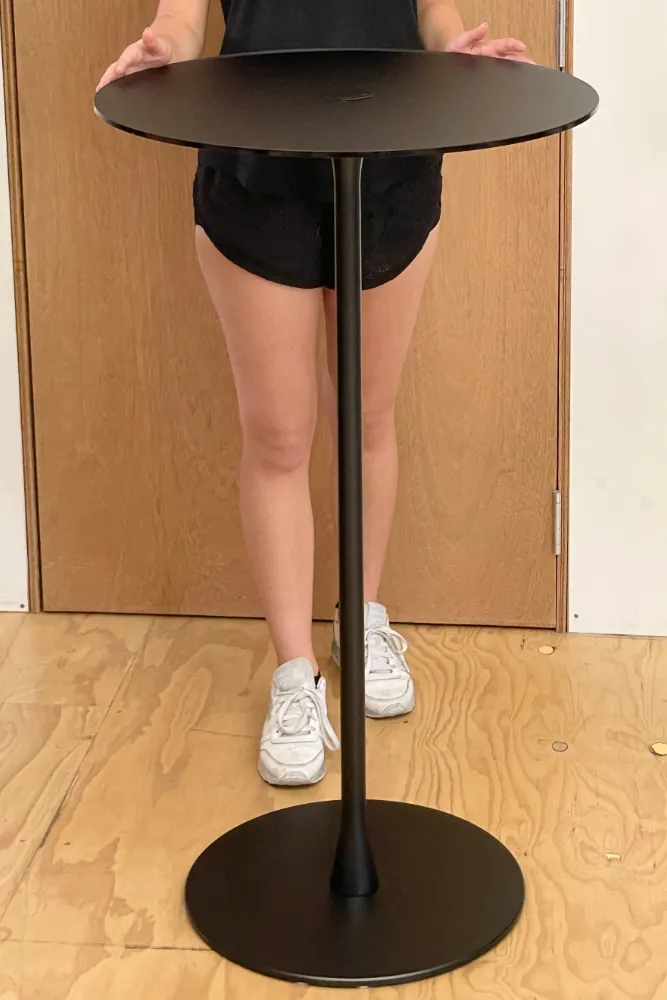
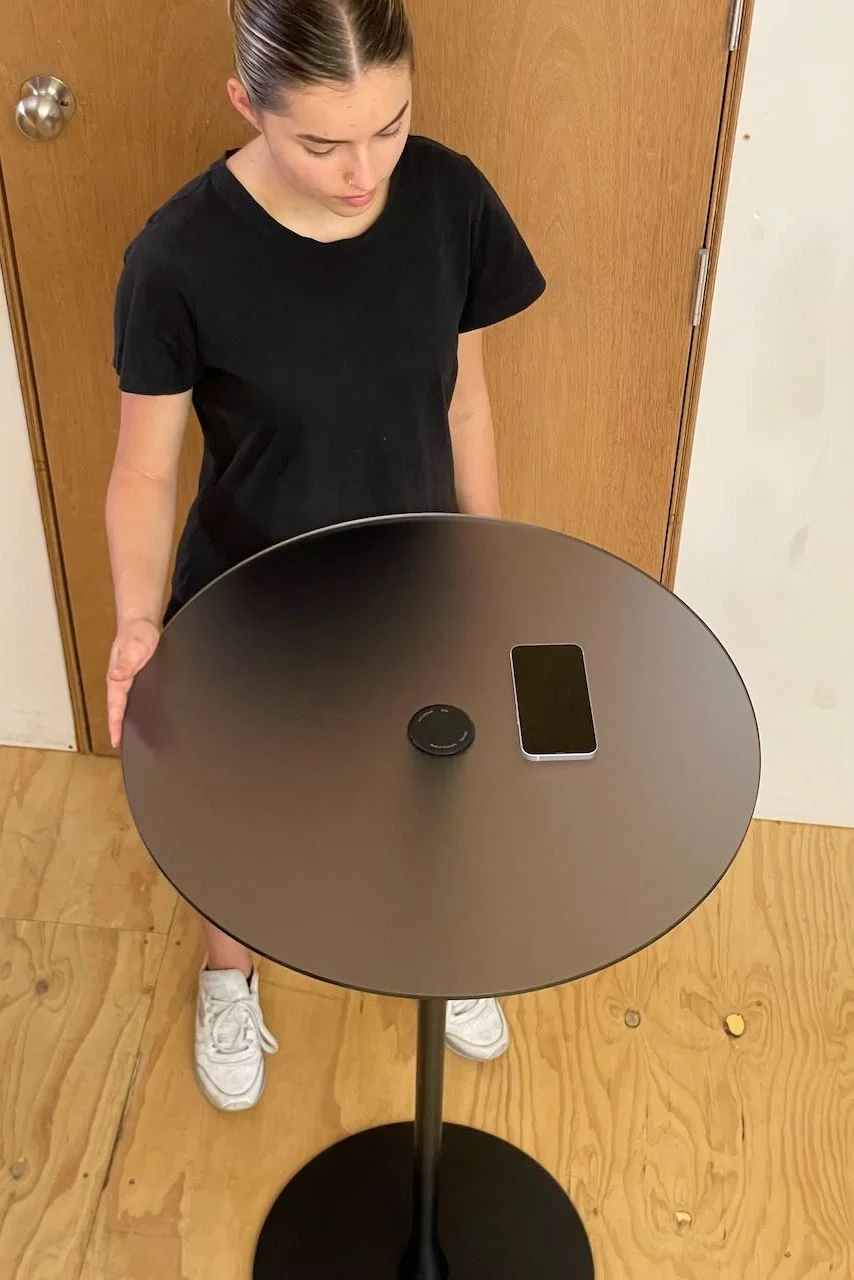
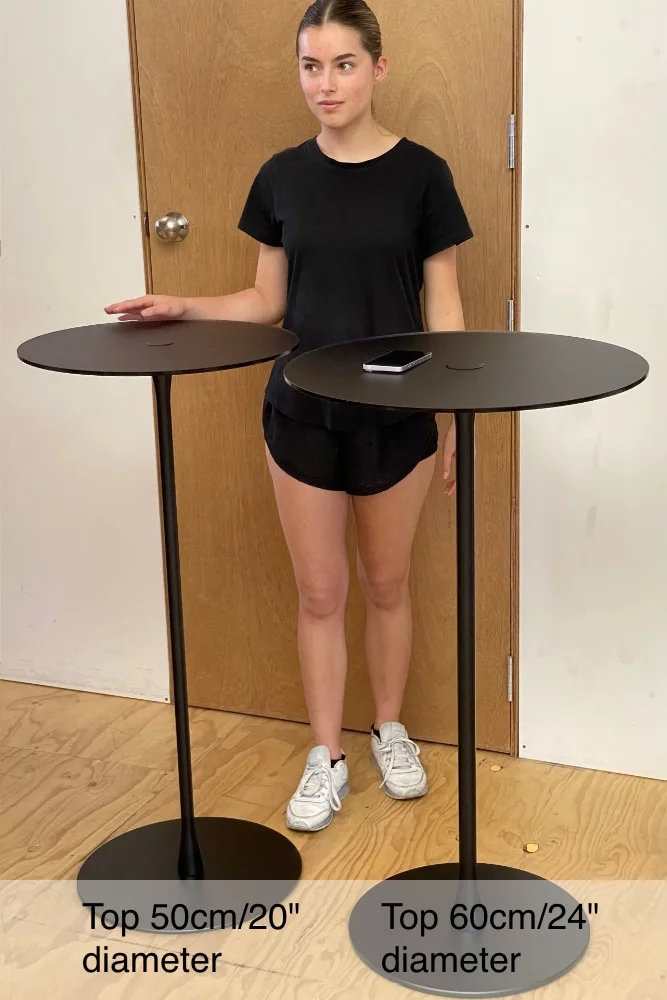
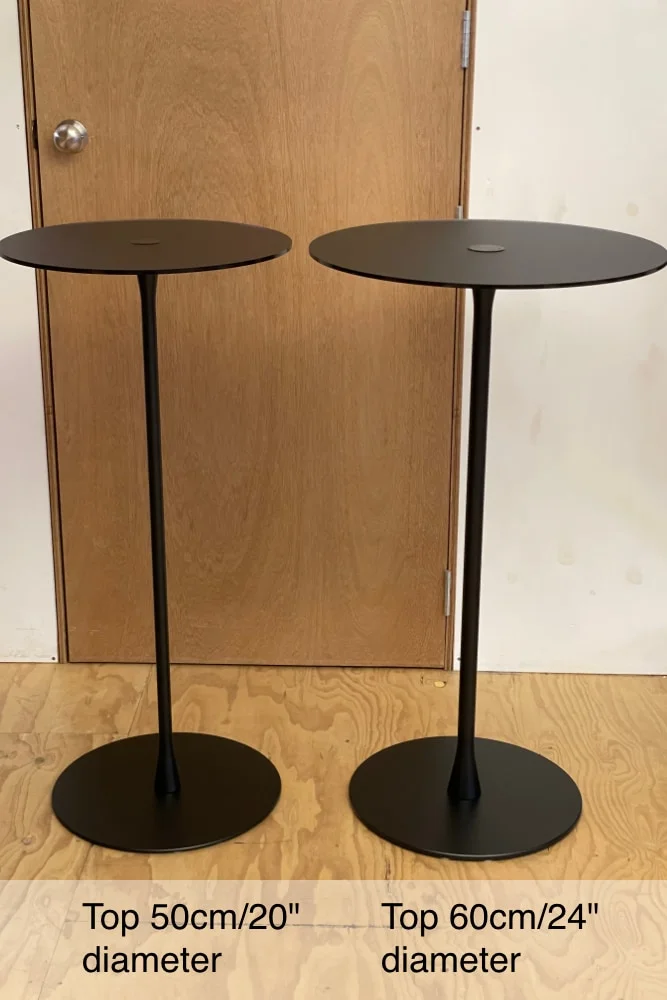
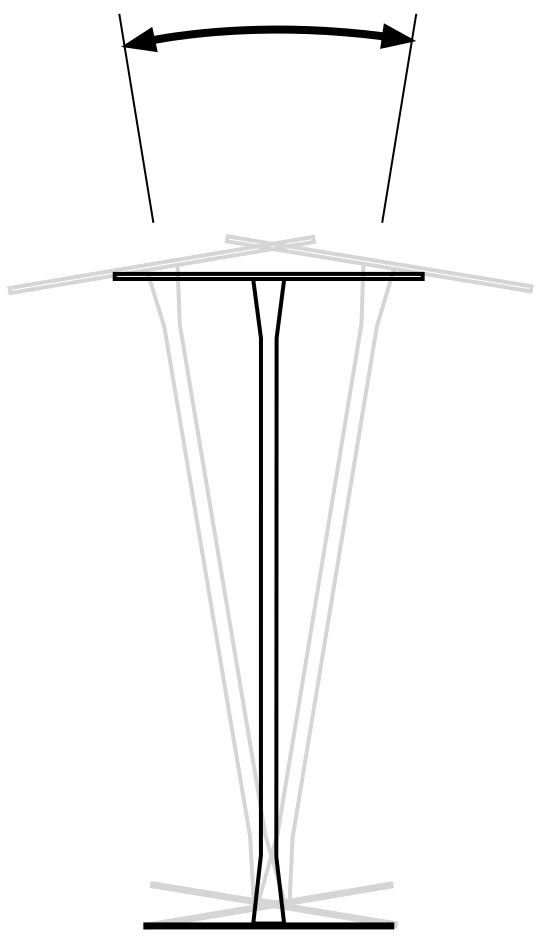
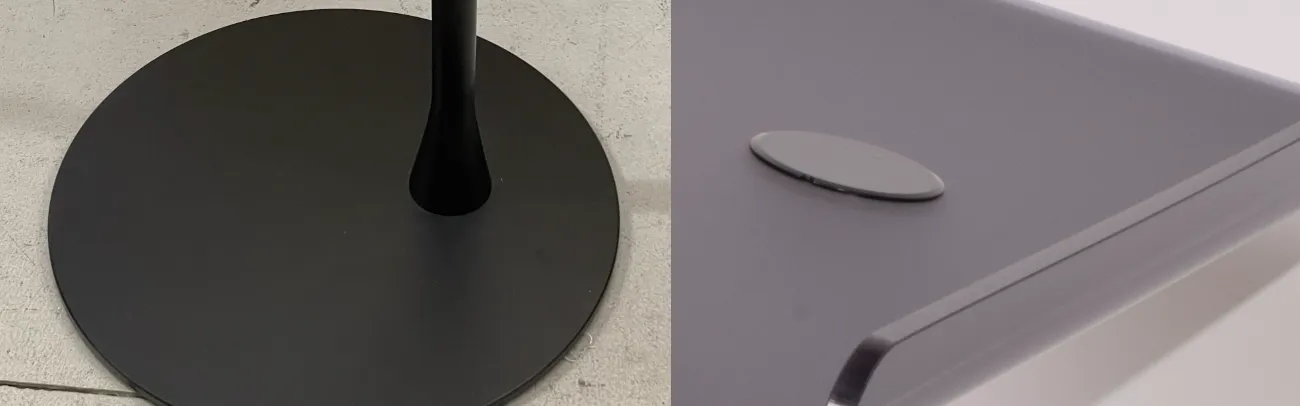
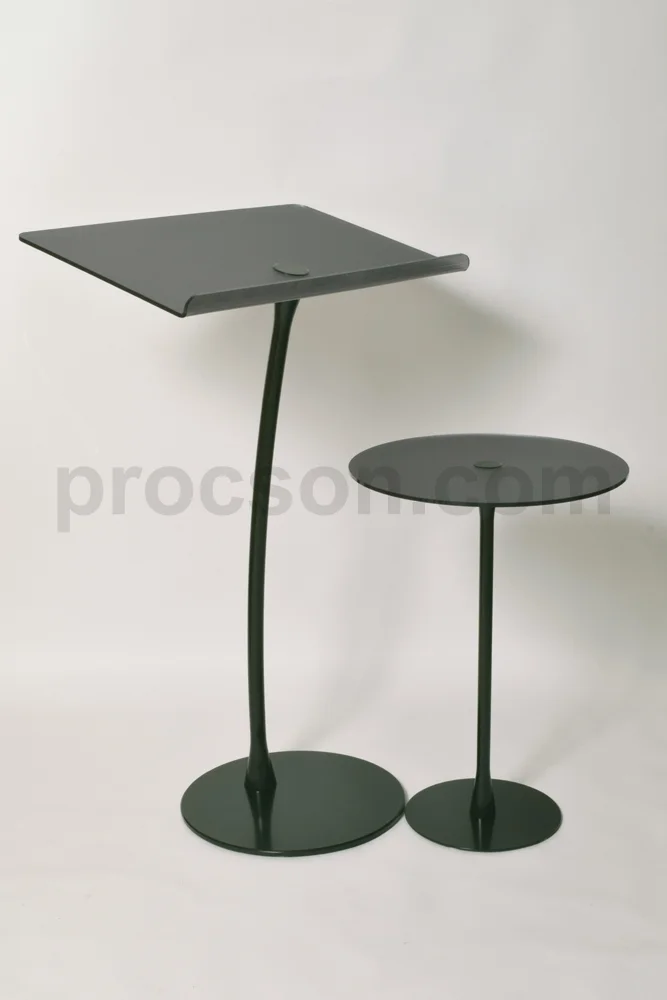
I found many customers wanted a 70cm wide top. This had never really worked well with the Arc1. It needed to be more stable and solid feeling. I needed a large base, but it needed to be light. I experimented with all sorts of bases made from layers of steel, wood, aluminium. I tried all possible combinations. I tested stem diameters and developed a test to measure rigidity (the nodding dog test). The result of this was the Arc2.
Arc1 pulpit
I was volunteering at Hillsong church, designing and making furniture, shelving, special display stands, and brochure holders. A church in Canberra contacted me and asked me to design a pulpit. I designed what became the Arc1. It was what you would call a point to point design. You need a base, and a top, then join them as simply as possible. Their friends asked for one too, so I made three. Other churches asked for them too. I set up a simple website, and showed them at the Hillsong conference. It took off.
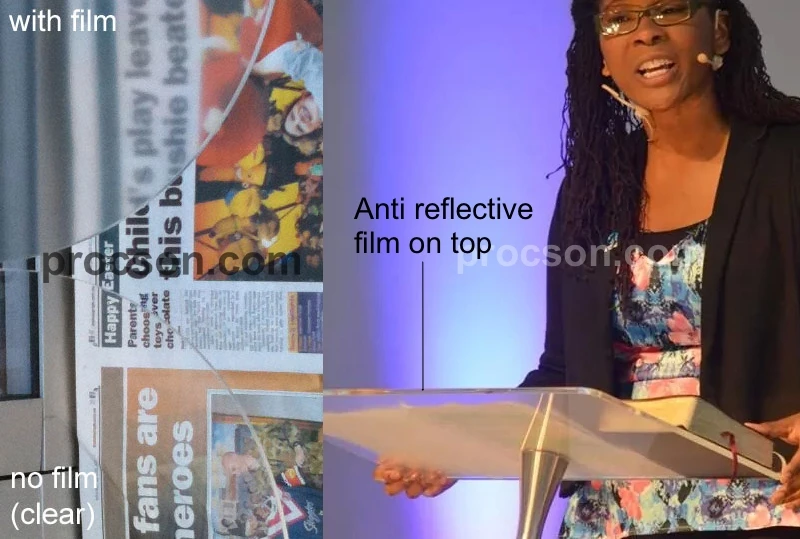
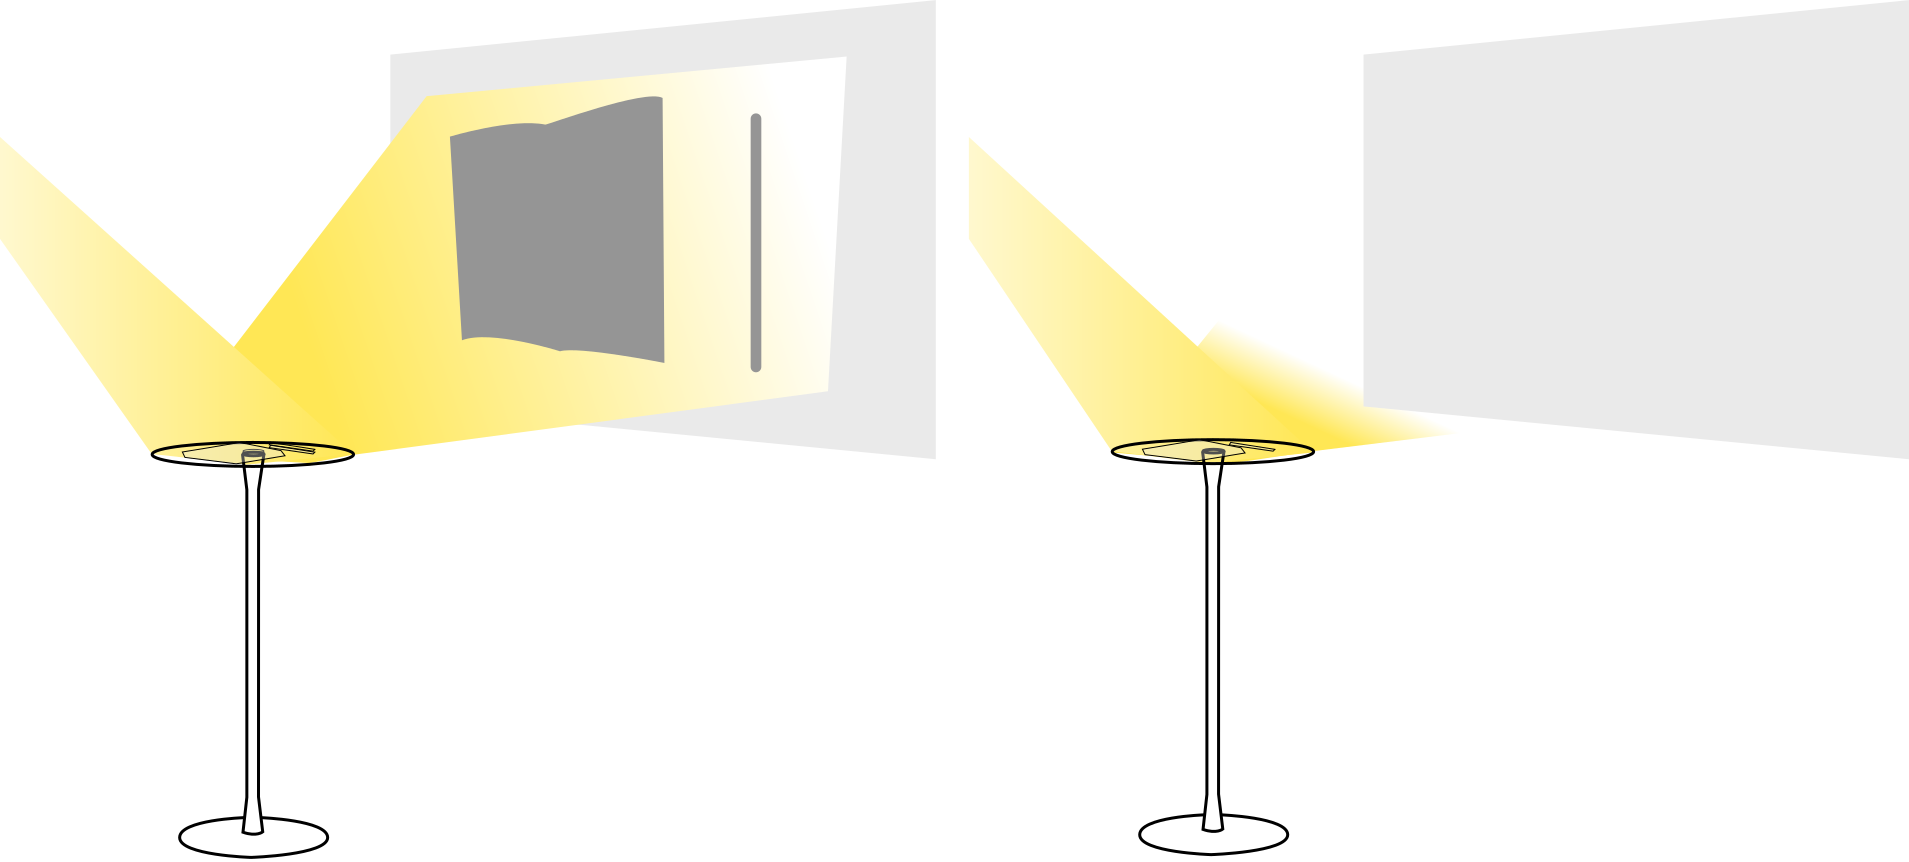
The design changed many ways as I improved it. I was able to remove 34% of the weight to make it easier to lift. I worked out a way to add anti glare film after seeing my pulpit in action for the first time at my church (Hillsong Waterloo) and being embarrassed by the reflections.
Adjustable Arc2 pulpit
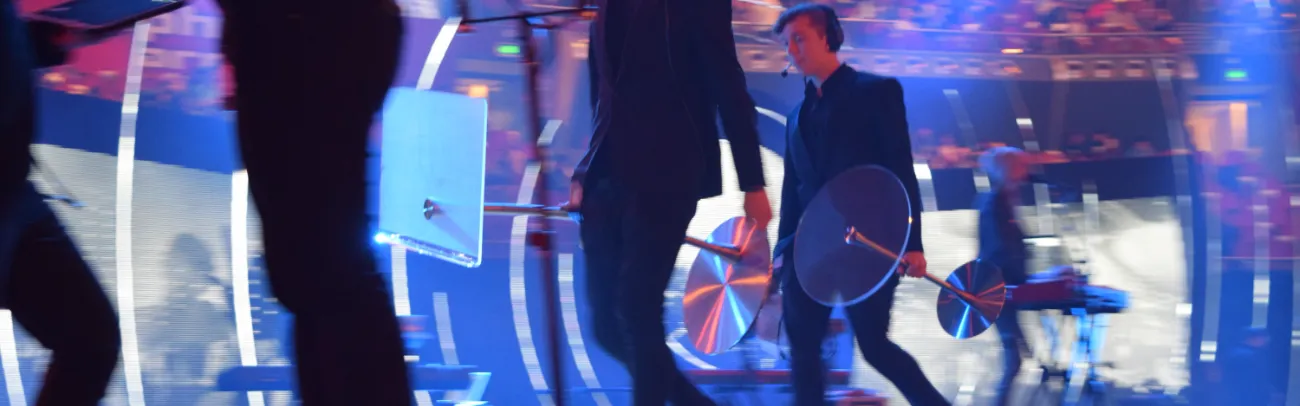
The challenge of getting curved tubes to slide within one another proved to be more difficult than we expected. The idea seemed simple — 2 tubes bent to the same curve, with an adjustment mechanism. However, it turned out to be difficult. It's the alignment that's the problem. Making a straight stem that adjusts is easy. Making a curved stem that adjusts is something completely different. At each stop point, everything has to align perfectly. Otherwise the lectern top will tilt slightly to the side. Many of our lecterns are used on TV, so we couldn't have it tilting slightly.
We tried method after method. Finally we ended up with a process that uses 7 welding jigs, and 5 alignment jigs (a jig is a purpose made brace with all sorts of clamps to align something). The stems go back and forth 5 times across Sydney — while each process is done by us and our specialists. So it all looks simple in the end. But the process of getting there is not simple. Even after all our efforts, it is a long assembly process by a skilled technician. Every stem requires individual fine adjustments to make it fit and align properly. Each inner and outer stem are matched carefully together by hand. After this it goes though an alignment check to make sure it aligns correctly at each height position.
We developed a non-slip adjustment mechanism to avoid the annoying problem of the pole slipping down mid-sermon. If you have used a music stand to preach from — you may have experienced it slipping down. This mechanism needed to be reliable, even over many years of use. After much research and development, we came up with a special clicking mechanism. You loosen the wing nut, then click the stem up and down. After that you tighten the wing nut again. It is a mechanism that will still be reliable after years of use.
We re-engineered all the parts to make them as light as possible. We developed a new base to help make it stable on uneven surfaces. The result is that the Arc2 adjustable pulpit is only 2kg/4 pounds heavier than the regular Arc2.
Arc3 pulpit
We tried 17 times to design a better lectern than the Arc2. 16 times our customers said they preferred the Arc2.
It was fruitless and exhausting. I (Stephen) finally designed a lectern shape that was great looking but was impossible to make. We spent thousands of dollars and many hours painstakingly hand making a prototype. Our customers loved it. They wanted to buy it. We had to find a way to make it at a reasonable price.
We spent 2 years of trial and error working out how to make it. It was impossible to make using conventional machines, so we had to make our own. We made machines from a metal cutting flame throwing torch, windscreen wiper motors from tractors, and more conventional parts. In the process, we had 11 suppliers say that various parts were not possible to make, produced 436 design drawings, and we set fire to a tree.
W lectern
We wanted to make a lectern for educational use. Strong yet lightweight. We used triangulated aluminium construction, and curved panels to make it lightweight yet strong.
We wanted to find a way for schools to wire in microphones and lights in the simplest possible way. To do this, we included 2 Japanese made Audio Technica shock mounts. This means you can push in either 2 microphones, or a microphone and light. The shock mounts grip the body of the microphone or light (helping to stop vibrations from the lectern and stage getting into the microphone).
It has no internal wiring. You simply drop the cables through the body of the podium and connect them to your sound system. See the diagrams to see how this works.
Texture powder coat is a durable finish that resists scratches. If it does get marked, small scratches can be touched up with a black marker if need be.
You can ask a local signwriter to apply your school logo on to the front.